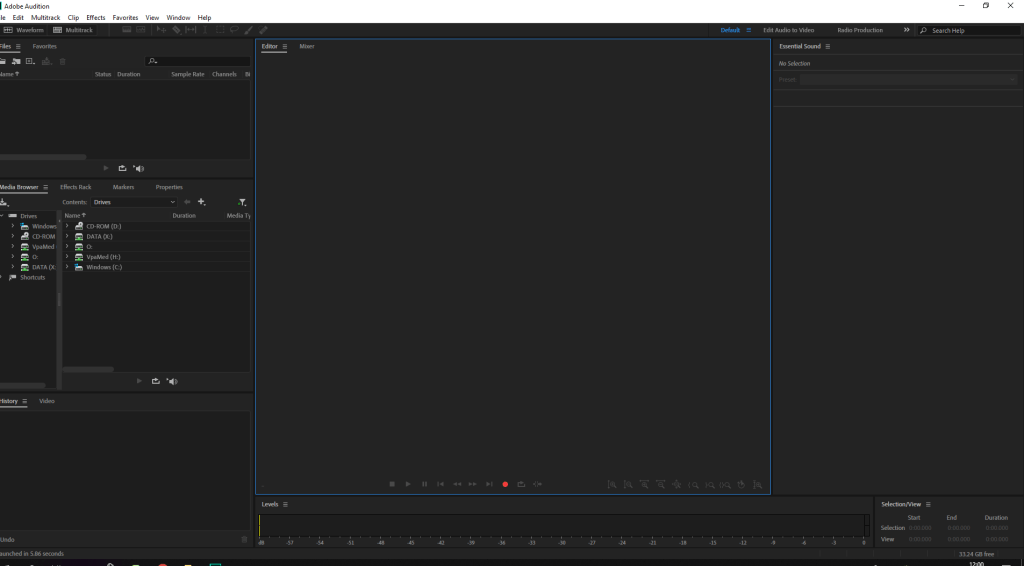
So this is the Introduction to Adobe Audition and below is all the steps for everything in this software, from editing the video to exporting it.
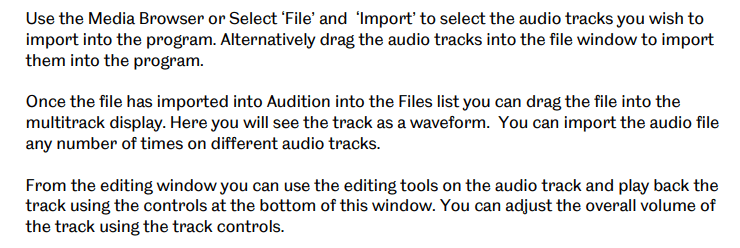
To Import: Control I
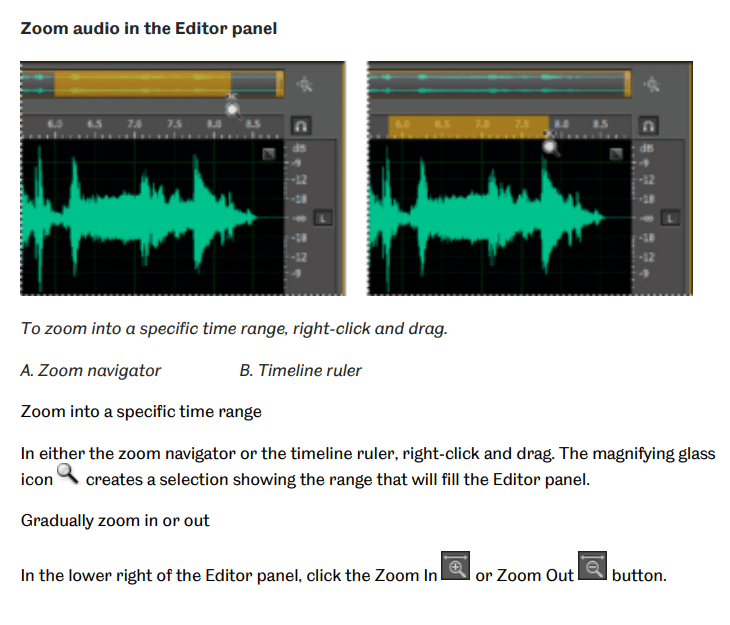
This is a Wave Form:
The high spikes will be really high.
C= eraser tool
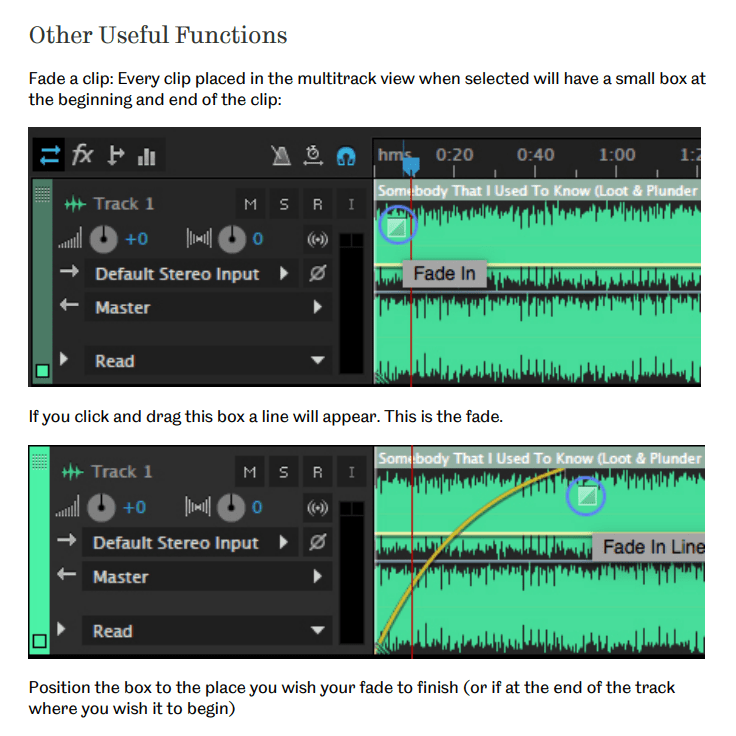
Using the Fade in/out
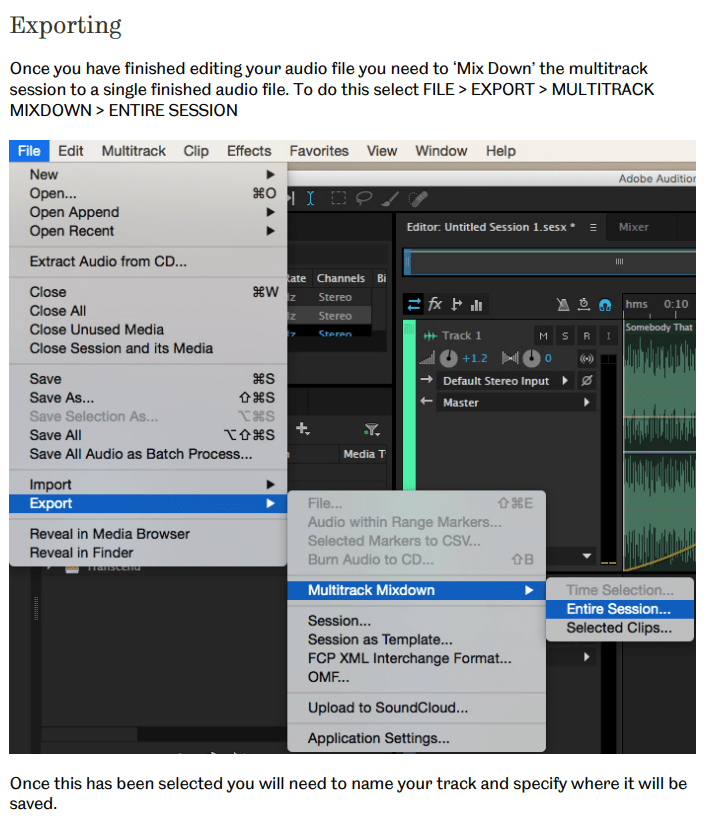
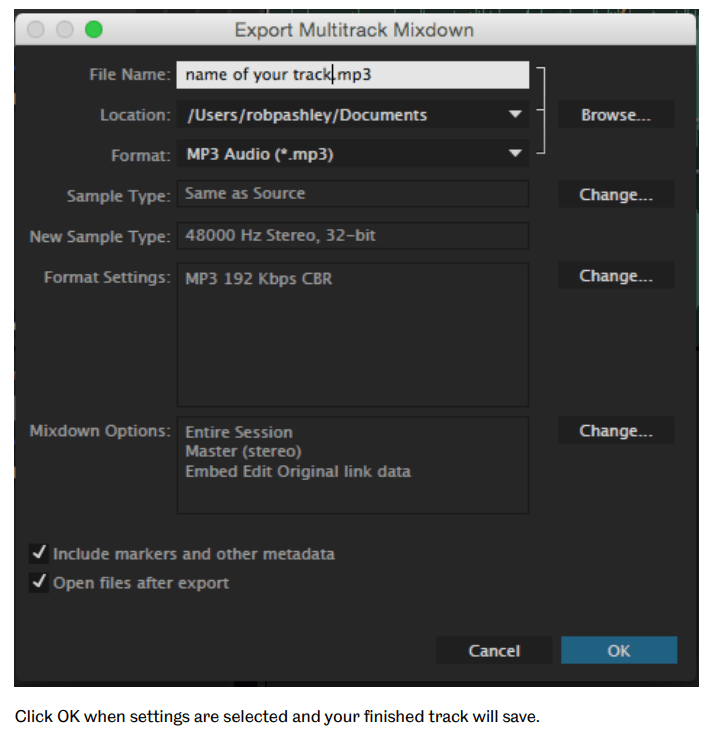
Exporting:

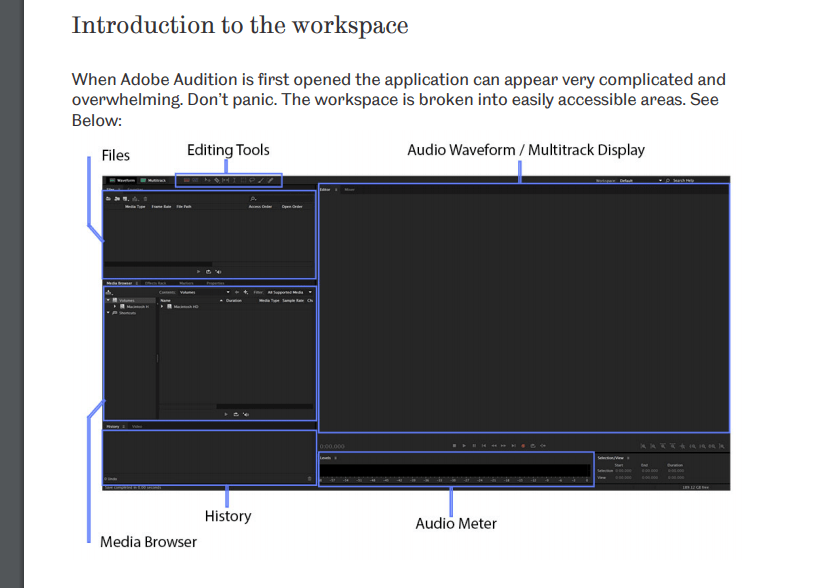
Editing Tools:

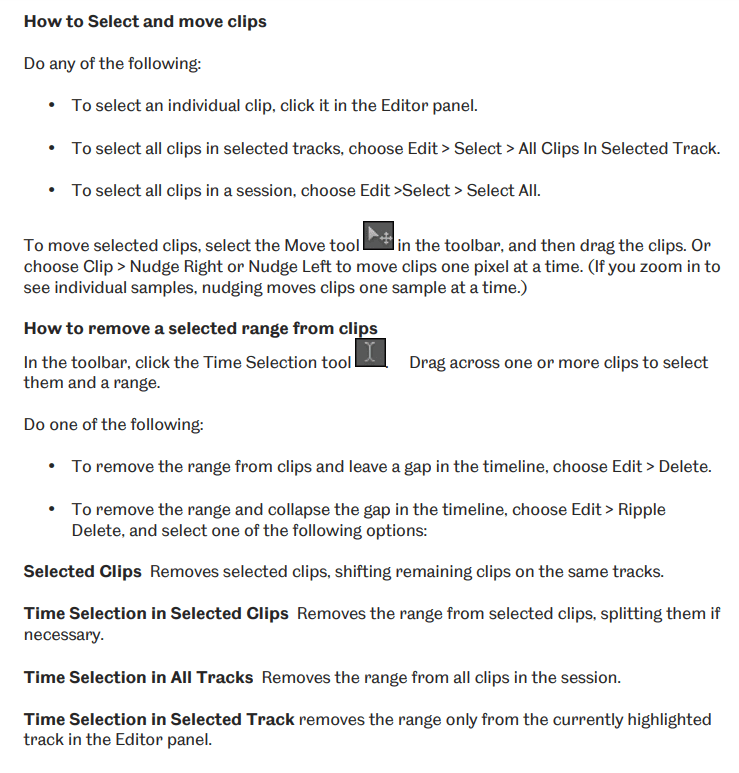
How to Split Clips:

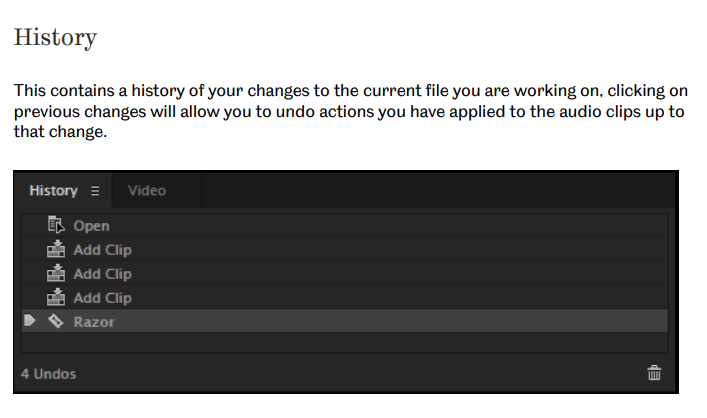
History:
Audio Meter:

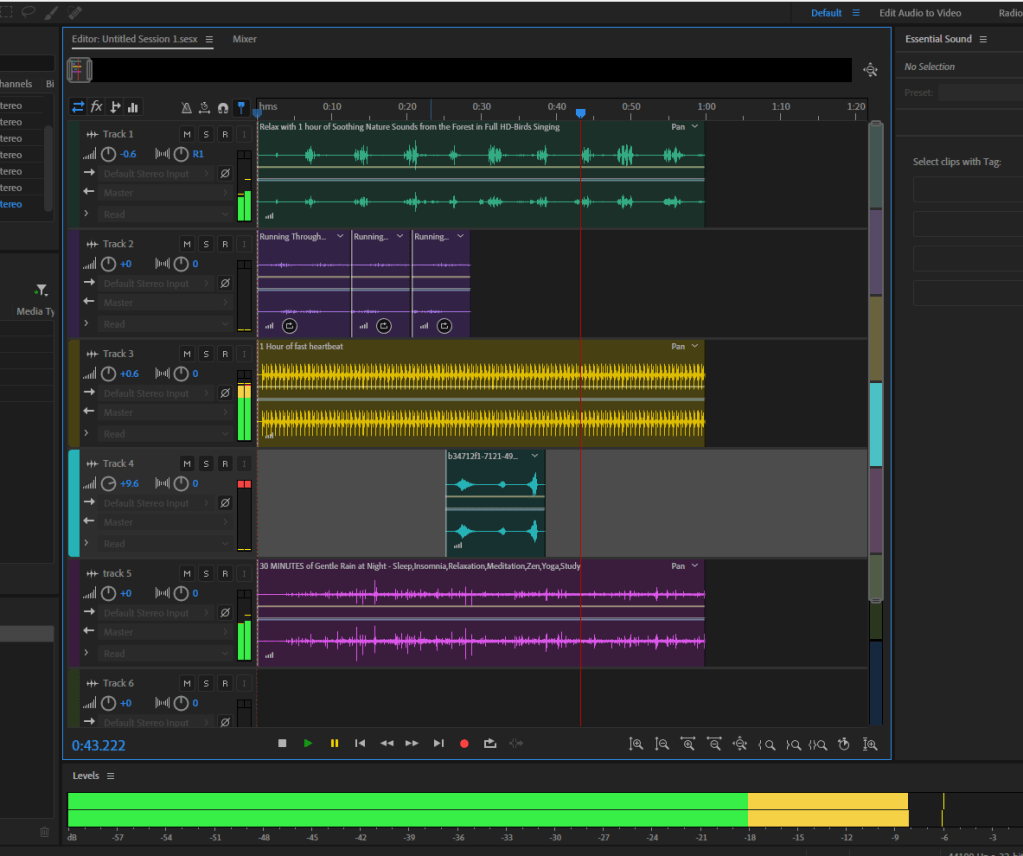
How to edit a Podcast in Adobe Audition:
Testing the Effect:

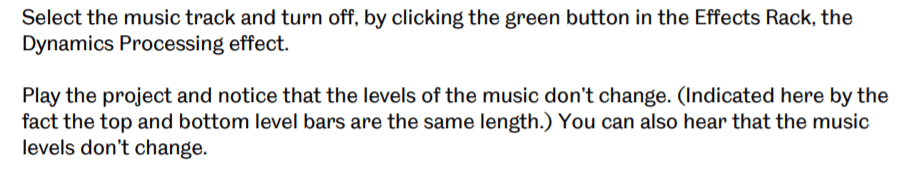
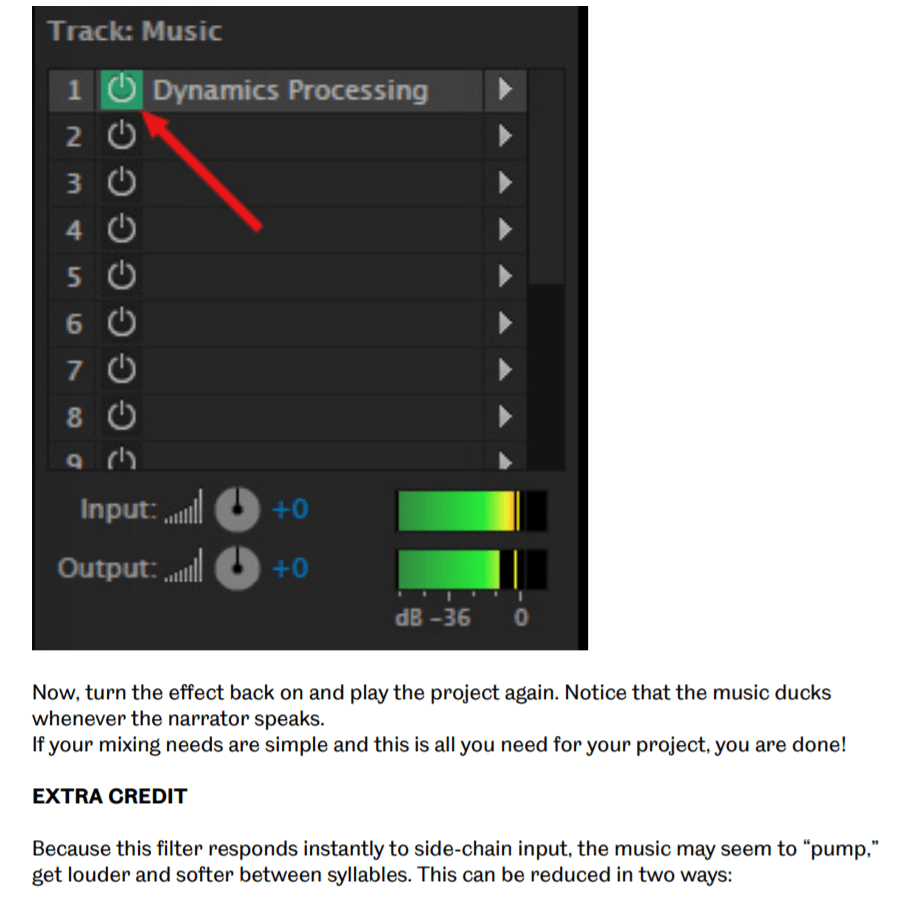
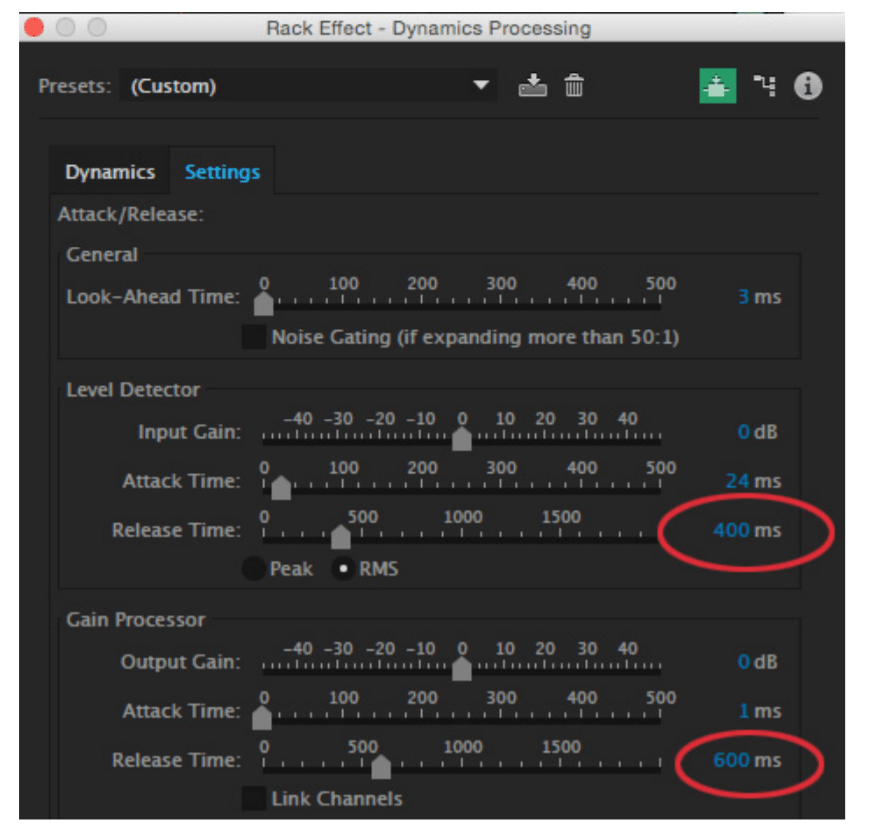
- Select the music track
- Double click the name of the dynamics processing filter in the effects back to open the interface
- Click the settings tab at the top
- Change the level detector – release the time to 400 ms
- Change the gain processor and release the time to 600 ms
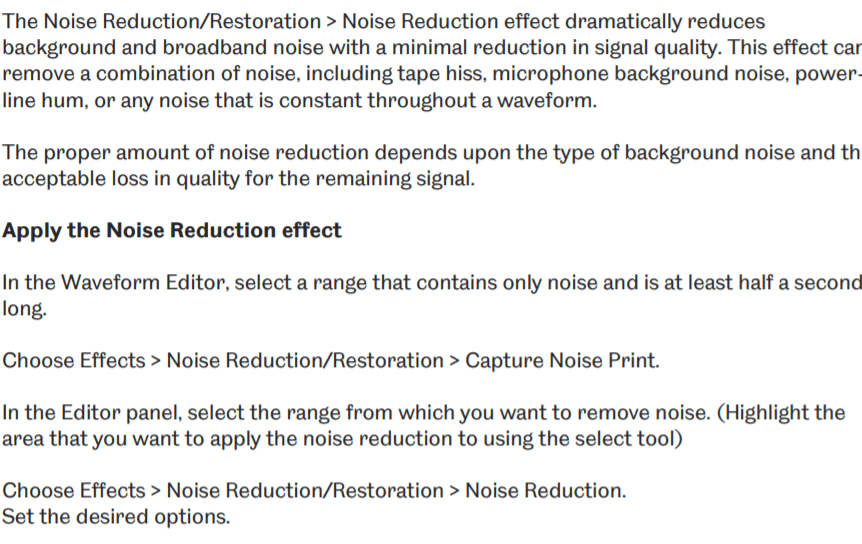
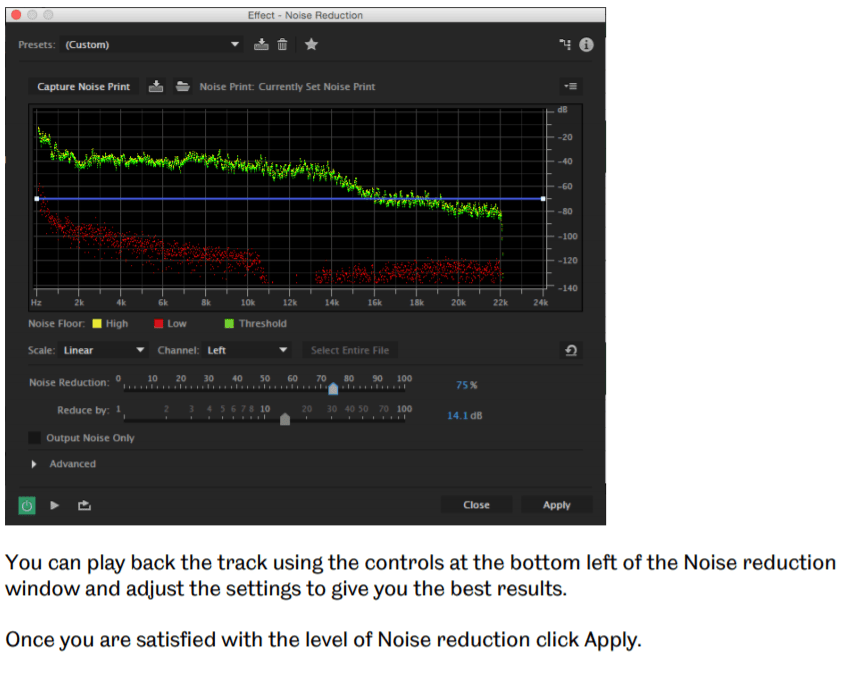
Noise Reduction Effect (Waveform Editor only)
Woods Scene 1 – Intro
The woods intro to our Podcast, we put this at the start since its the start of our Podcast. Also because it gives the listeners tension, and what will happen next before going into our interview.
The Interview:
The interview part to our Podcast that we’ve all been editing.

tools i used in adobe audition:
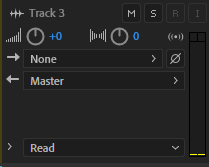
M stands for mute
S stands for solo
R means recording
I means monitor input

the small boxes are the fade in or fade out, for the recording
how to export the recording is by:

this is the razor selected clips tool


